How to Plan a Custom Home Construction Timeline
Last Updated: November 4, 2026
Quick Summary
A custom home construction timeline is a sequenced plan of every major phase, from site work to final inspection, with realistic durations and dependencies. Most Ontario custom homes take about 12 to 18 months from design approval to occupancy, and permits, site conditions, and material lead times can shift that range.
Map each payment draw to a verified physical milestone, such as a passed inspection.
Confirm the lender's holdback percentage and release timing in writing before signing.
Start a lead-time tracker during design and work backward from each install phase.
Require written supplier acknowledgment with a delivery window, not a verbal estimate.
Research your municipality's permit review window and add a buffer to the schedule.
Table of Contents
Planning a custom home without a clear timeline is like starting a road trip without a map. For a step-by-step guide covering lot assessment, permits, budgeting, design, and construction timeline, see step-by-step guide to building a custom home on your Ontario lot. Most Ontario homeowners who build from the ground up discover that the schedule is the first thing to slip and the last thing to recover. A solid custom home construction timeline gives you control over costs, contractors, and your own patience.
Compass Custom Homes has spent over 26 years working on foundations, concrete, and civil engineering projects.
A timeline is a sequenced plan of every major phase, from site work to final inspection, with realistic durations and dependencies. It tells you what must happen first, what can overlap, and where delays will hurt the most. Establishing these milestones requires a firm grasp of realistic building expectations to ensure that the project remains on track as you navigate the complexities of a luxury home construction timeline.
Why it matters before you break ground:
It sets realistic expectations for move-in dates
It shows where your budget will be spent and when
It highlights decisions you must make early, such as finishes and fixtures
It gives your builder a clear standard to measure progress against
Many owners treat the timeline as a formality. It is not. A well-built schedule forces hard conversations about permits, lead times, and approvals while they are still cheap to change.
How Long to Build a Custom Home, Phase by Phase
Custom home timelines vary widely. Site conditions, design complexity, and permit timing can push the schedule in either direction.
Each phase carries its own rhythm, and weather can stall foundation and framing work without warning.
Interior work, including drywall, cabinetry, and finishes, often takes longer than its visible progress suggests. Plan extra time here, because this is where selections and change requests pile up.
The Custom Home Build Stages From Land to Final Walkthrough
Every custom build moves through a recognizable sequence. Knowing the order helps you spot when something is out of step.

Land and site analysis: survey, soil testing, and utility checks
Design and permits: architectural drawings and municipal approvals
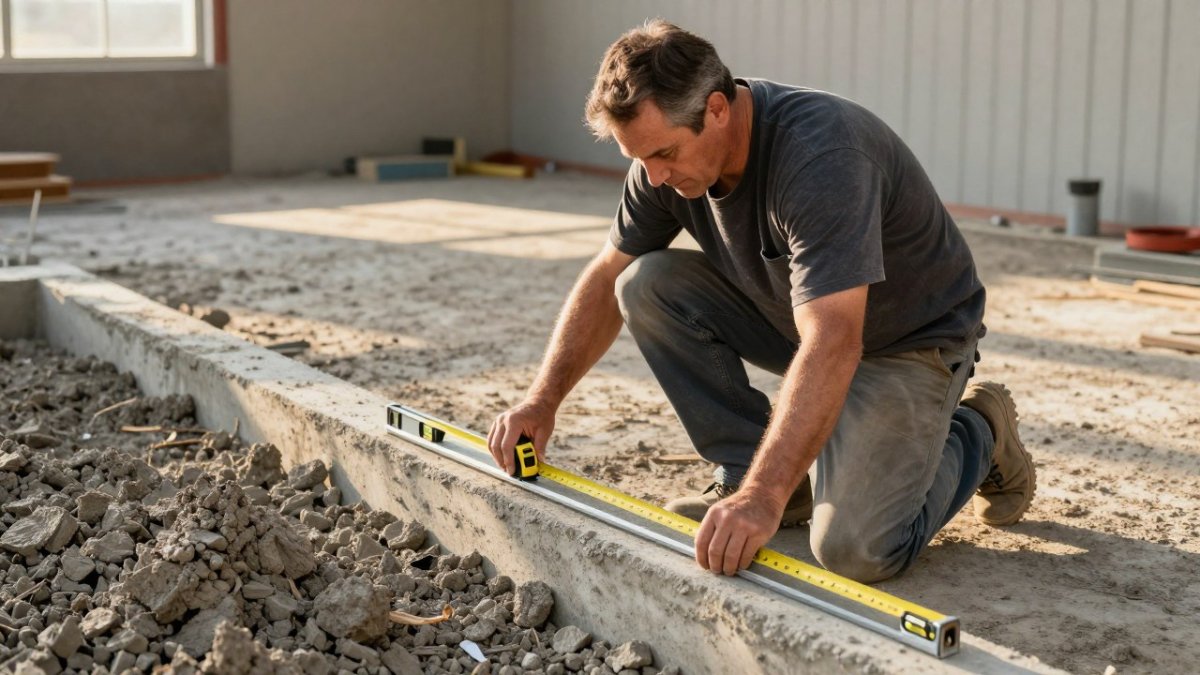
Site preparation and foundation: excavation, footings, and concrete pours
Framing and structure: walls, roof, and exterior envelope
Rough-ins: mechanical, electrical, and plumbing systems before walls close
Interior finishes: drywall, flooring, cabinetry, and fixtures
Exterior and landscaping: cladding, roofing details, and grading
Final walkthrough and occupancy: inspections and deficiency fixes
Watch out: skipping a rough-in inspection before the walls close can mean opening finished walls to fix a missed pipe or wire. To avoid these and other budget surprises, see how to avoid custom home budget surprises.
Key Custom Home Construction Milestones and Payment Alignment
Most custom home guides treat money and schedule as separate topics. They are not. On a custom build, the draw schedule is the timeline's financial twin, and misaligning the two is one of the most common ways projects stall.
A draw schedule is the lender's or builder's list of payment releases, each tied to a verifiable stage of work.
How to align milestones and payments:
Map every draw to a physical milestone. A foundation draw should follow a passed footing and foundation inspection, not a poured concrete date on a spreadsheet.
Build in a holdback. Most construction lenders retain a percentage of each draw until the next stage is verified. Confirm the holdback percentage in writing before you sign, because it affects your cash flow between draws.
Match your own liquidity to the gaps. Draws arrive after work is done, so you fund the front end of each phase. Plan a contingency reserve for the weeks between a completed stage and the released payment.
Require a site visit before each release. A five-minute walkthrough with your builder and, where applicable, the lender's appraiser catches quality issues while they are still cheap to fix.
Tie the final draw to the occupancy permit and deficiency completion, not to the final walkthrough alone. This keeps the last 5 to 10 percent of the contract value working for you until the punch list is closed.
Watch out: a draw schedule that releases money on dates alone can leave you paying for framing that is still open to the weather, so insist that every release is tied to a passed inspection or a signed progress certificate.
The change-order trap. Change orders are the quiet killer of payment alignment. Each approved change should trigger a written adjustment to both the contract price and the draw schedule, with the cost assigned to the phase where the work occurs.
What to ask before you sign:
Which inspections trigger each draw, and who signs off?
What is the holdback percentage, and when is it released?
How are change orders priced and scheduled?
What happens to the schedule and draws if a phase fails inspection?
A builder who can answer these questions with a written draw schedule is a builder who has thought about the timeline as a financial instrument, not just a list of dates.
Building a Custom Home Project Schedule Template That Works
A useful schedule template lists each phase, its estimated duration, its start and finish dates, and the people responsible. Keep it simple enough to update weekly.
Core columns to include:
Phase or task name
Planned start and finish dates
Actual start and finish dates
Dependencies (what must finish first)
Responsible trade or contact
Status and notes
Review the template with your builder during weekly check-ins. A schedule that nobody updates becomes useless within a month.
Planning for Material Lead Times and Regional Permit Variance
Two forces quietly stretch custom home timelines more than any other: material lead times and municipal approval variance. Most guides mention both and then move on. This section gives you a working method for each.
Build a lead-time tracker before design is finalized
A lead-time tracker is a simple table that lists every long-lead item, its estimated order-to-delivery window, the date it must be ordered to hit its install phase, and the date it is confirmed in writing. Start it during design, not after permits.
Items that commonly carry long lead times:
Windows and exterior doors, especially custom sizes and finishes
Custom cabinetry and millwork
Specialty roofing and standing-seam metal
Engineered floor systems and long-span beams
HVAC equipment, heat pumps, and specialty ventilation
Stone, tile, and imported finishes
Garage doors and custom entry systems
How to run the tracker:
Work backward from the install phase. If cabinetry installs in month nine and the confirmed lead time is sixteen weeks, the order must be placed and acknowledged by month five.
Get written acknowledgment, not a verbal estimate. A supplier's email confirming the order date and delivery window is your only real protection.
Flag every item with a lead time longer than the phase before it. Those are the items that can idle a crew.
Review the tracker at every weekly check-in and update actual versus planned dates.
Watch out: a verbal 'about twelve weeks' from a supplier is not a lead time, so require a written acknowledgment with a delivery window before you release the order.
Sequence orders to the construction phases
The most common lead-time failure is ordering everything at once and then storing it. Materials arrive damaged, go missing, or get installed out of sequence. A better pattern is to release orders in waves that match the build:
Wave one, during design: windows, exterior doors, and structural engineered products, because they gate lock-up.
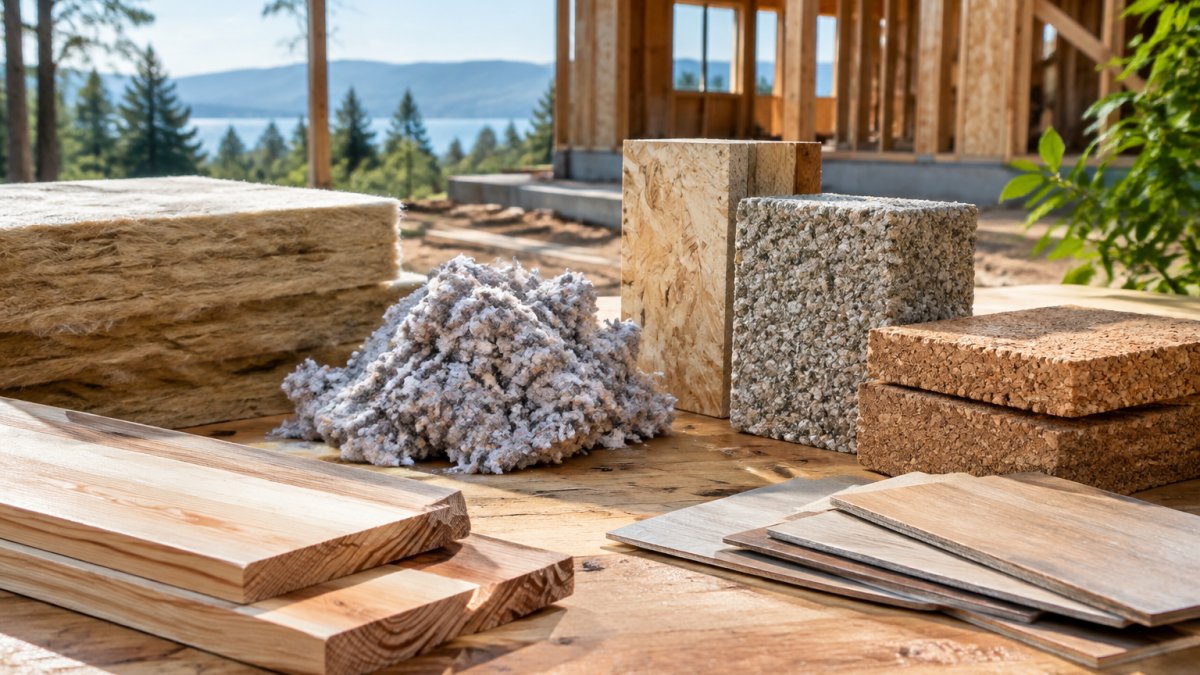
Wave two, at foundation: HVAC equipment, rough-in electrical and plumbing fixtures, and insulation products.
Wave three, at framing: cabinetry, countertops, tile, and interior doors, because these gate the finish phase.
Wave four, at drywall: appliances, lighting, and hardware, which are the last to install and the easiest to store.
Build municipal permit variance into the schedule
Permit review periods vary widely between municipalities, and even between applications within the same municipality. Rather than assume a fixed number of weeks, research the actual review window for your application type and add a buffer.
How to research your local review window:
Ask the local planning or building department for their published review timelines for the application type you need.
Ask whether your lot or design triggers additional reviews, such as heritage, environmental, or site-plan approval.
Request a pre-application meeting where one is offered; it surfaces issues before you submit.
Track the application through the municipality's online portal and calendar the response deadlines.
Add a contingency of several weeks to the permit phase in your schedule, and treat it as real time, not slack.
A common pattern is for owners to lock in a start date before permits are issued, then pay for idle crews. Build the variance into the plan from day one, and hold your start date until the permit is in hand.
The table below summarises the typical long-lead items and the stage at which each should be ordered, as described above.
Item | Order during | Why it matters |
Windows and exterior doors | Design (wave one) | Gate lock-up |
Structural engineered products | Design (wave one) | Gate lock-up |
HVAC equipment | Foundation (wave two) | Needed for rough-ins |
Cabinetry and countertops | Framing (wave three) | Gate the finish phase |
Tile and interior doors | Framing (wave three) | Gate the finish phase |
Appliances and lighting | Drywall (wave four) | Last to install, easiest to store |
Scheduling the Hidden Post-Construction Phase and Your Next Step
The timeline does not end at final walkthrough. Deficiency repairs, warranty-period follow-ups, and landscaping completion can stretch several months beyond occupancy. Include these in your plan so they do not catch you off guard.
Ontario new homes are typically covered under Tarion warranty, which has its own timelines for reporting defects (What is the new home warranty). Keep your closing documents organized and calendar the warranty dates from the start.
If you are ready to take the next step, Compass Custom Homes can help you plan a schedule for your lot, your design, and your family's needs. To compare Ontario builders by timelines and contract protections before you hire, see best custom home builders in Ontario. Contact Compass Custom Homes to start the conversation about your build.
Frequently Asked Questions
How long does it take to build a custom home?
A custom home in Ontario can take well over a year from the first design meeting to occupancy, and the range depends heavily on the size of the home, the complexity of the design, and how quickly approvals come through. Homeowners should treat any timing as a planning range rather than a promise, and build contingency time into any move-in date.
What are the main stages of a custom home build?
Most custom builds move through design and engineering, permitting, site preparation and foundation work, framing and structural work, mechanical, electrical and plumbing rough-ins, insulation and drywall, interior finishes and cabinetry, exterior finishing, and a final inspection before occupancy. Each stage depends on the one before it, so a delay in foundation work or inspections will push back everything downstream. Keeping a written schedule that shows these stages as a critical path helps homeowners see where a slip will matter most.
What can delay a custom home construction timeline?
The most common delays include weather during excavation and framing, slow municipal permit reviews, unexpected ground conditions such as rock or poor soil, lead times on windows, cabinetry and specialty materials, and late changes to design or finish selections. Utility connections can also take longer than expected depending on the lot. Building a contingency of several weeks into the schedule and ordering long-lead items early reduces the impact of these issues.
How often should a homeowner receive construction schedule updates?
Homeowners should ask their builder how schedule updates will be communicated during construction, and what each update should include, such as any slipped dates and the reasons for the change. Clear, regular communication is one of the best early warnings that a timeline is drifting, and it gives you time to make decisions about finishes or trade sequencing before costs rise.

Comments